.png?width=500&height=91&name=CG-Logo-Blue%20(1).png)
Your platform includes several user types — students, faculty, staff, and admins. Most campuses populate their user list by importing from their Student Information System (SIS) or by uploading a spreadsheet. This article covers adding users one at a time, which is useful for a late enrollment, a new staff member, or a guest account that won't appear in your next SIS sync.
Who can do this: Platform admins.
💡 Tip - If you're adding more than a handful of people, uploading a user list in bulk is faster than entering them individually.
ℹ️ Note - Consider setting up a user onboarding as well, so new users can fill in their own details when they activate their account.
Adding a user
First, click the Admin tab at the top of your platform.
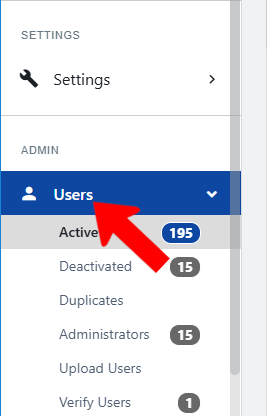
Click Users in the left navigation. This opens the Active Users list.
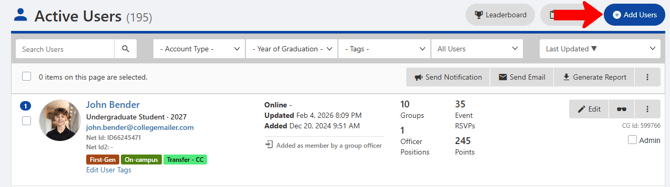
Click Add Users at the top of the list.
Enter the user's email address and name, then choose their Account Type. The account type controls what the user can see and do, so it's worth confirming before you submit.
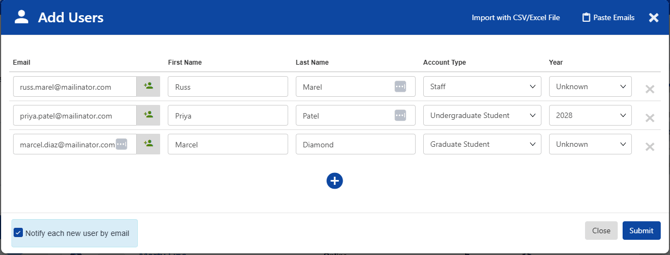
Optionally, enter a year of graduation if it's known and relevant to your campus. You can also send an email to the users you're adding. This sends them an account notification so they can set a password and log in.
Click Submit.
ℹ️ Note - The Add Users window also has a Paste Emails option, which lets you add several users at once by pasting a list of email addresses. For larger groups, import a user spreadsheet instead.
After you add a user
Each new user appears at the top of the Active Users list, where you can open and edit their details as needed.
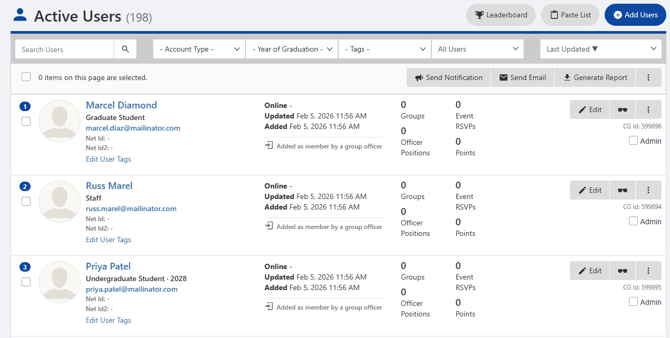
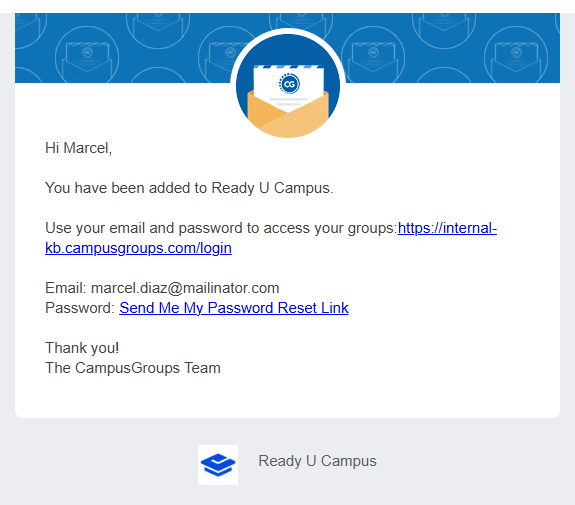
If you chose to send notification emails, each user receives a message prompting them to reset their password and log in. From there they can complete their user profile and privacy settings.