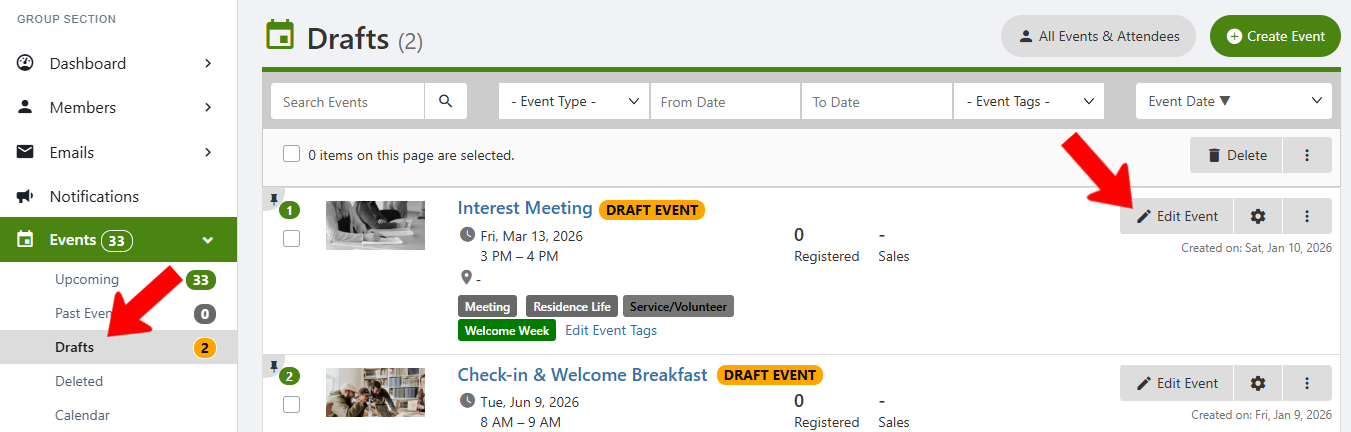
This is Step 8 of Creating an Event. If you need to make changes to an event saved as a draft, find it in the Draft list and click Edit Event.
Advanced options are found at the end of the Create Event or Edit Event page.
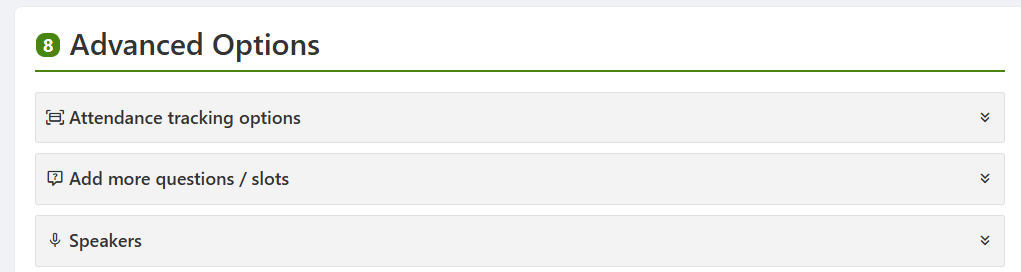
Each set of options is described below.
Attendance Tracking Options
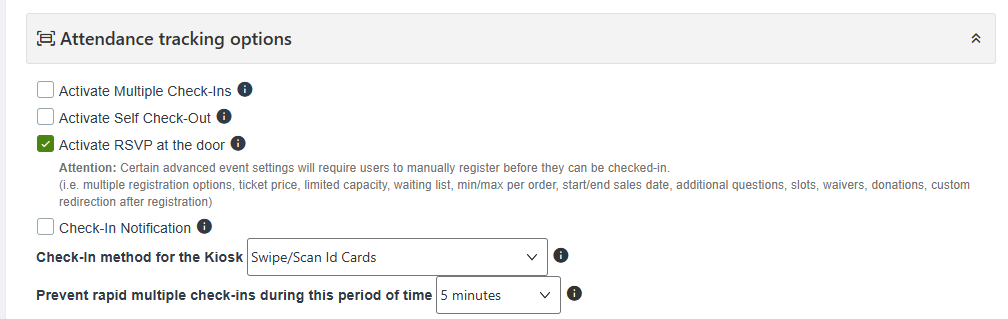
- Activate Multiple Check-Ins: Enables the same student to be checked-in multiple times.
- Activate Self-Check-Out: Users can check-out by scanning the event QR code Self Check-in via QR Code or from the kiosk event QR code.
- Activate RSVP at the door: Enables check-in for non-registered users. Note that other settings may cause this setting to not work, meaning that non-registered users must register before they can check in. This is the case for: events with multiple registration options, non-free tickets or donations, limited capacity or waiting list, min/max per order, start/end sales date, additional questions, slots, waivers, or custom redirection after registration.
- Check-In Notification: Sends an email to the user after check-in.
- Check-in method for the Kiosk: If a check-in kiosk Self Check-In via Kiosk is used, choose whether check-in is done via Swipe / Scan of ID card, name or email, or both methods.
- Prevent rapid multiple check-ins: Use this option to prevent users from checking-in multiple times within a short time, or by mistake. This option is relevant when check-in is via QR code Self Check-in via QR Code or kiosk Self Check-In via Kiosk.
Add More Questions / Slots
These options enable you to request that users provide certain types of information, such as desired time slots, upon registration.
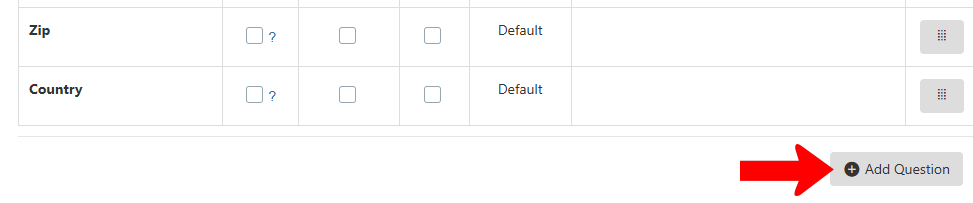
Several standard questions are listed here, such as name, degree, graduation year, etc. Click Active for each question you want to appear, and Required where answers are required.
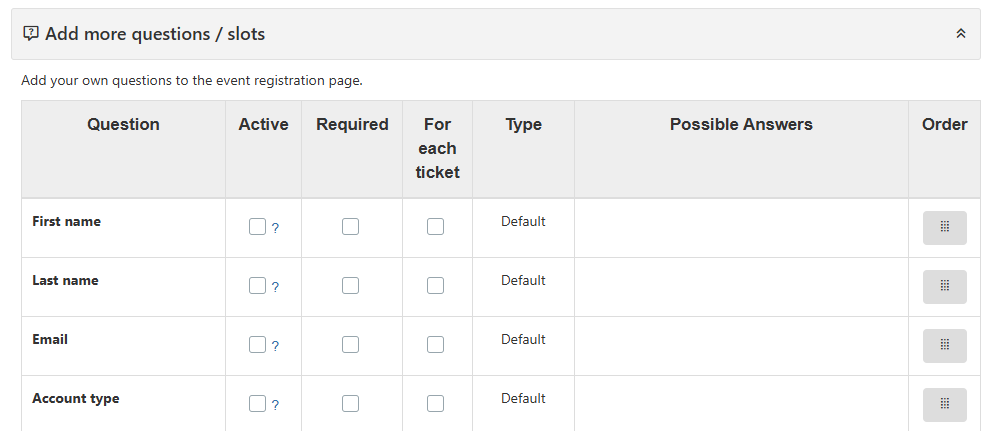
To create a custom question, click Add Question below the table.
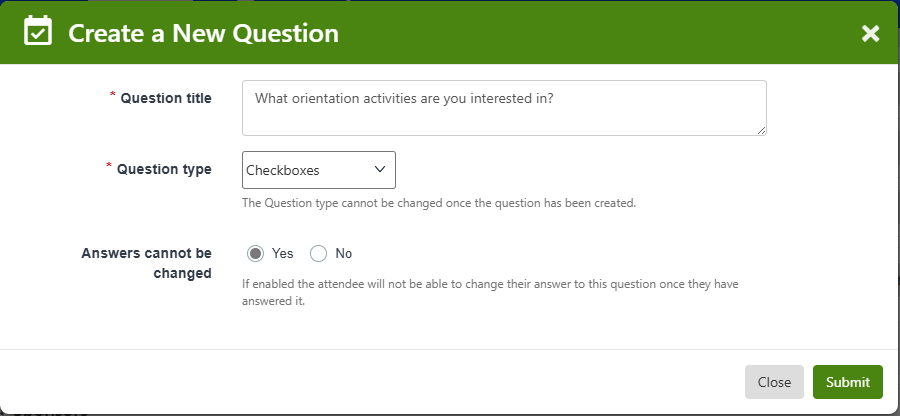
Enter the question text and type, and whether users can change their answers once submitted.
Question types include: text, checkboxes (for one or more responses), dropdown menu (for a single response), date, time slots, and upload of one or more files.
If your question requires that users choose answers, click Add Answer.
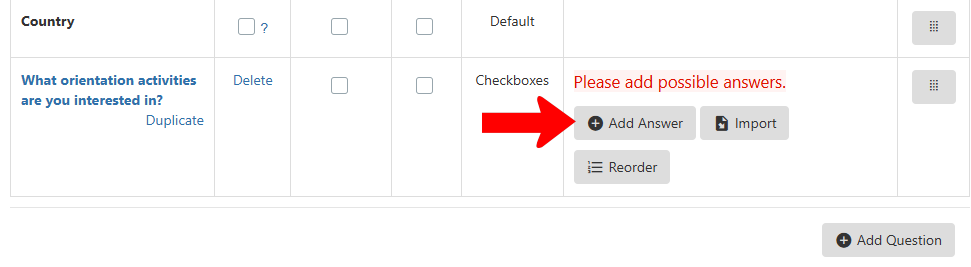
Enter all answers you want users to see.

Speakers
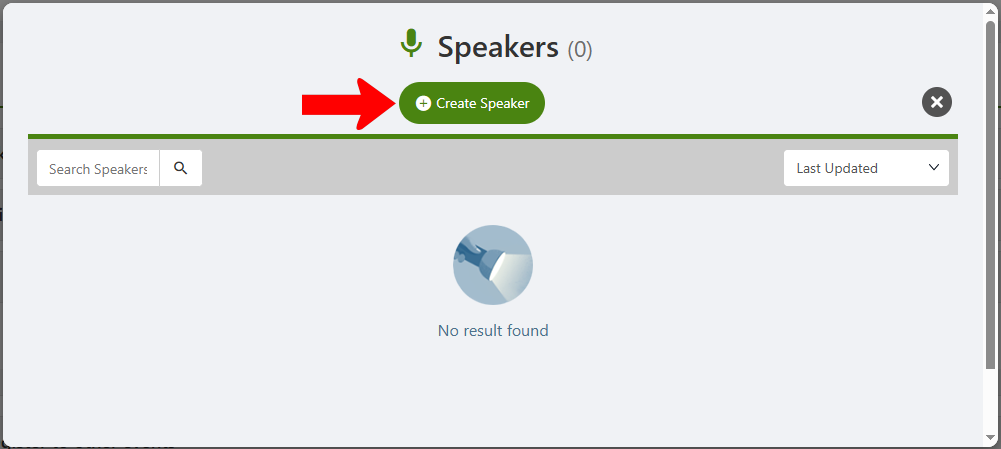
If your event has one or more speakers, click Add Speaker.

If the speaker you want does not appear on the list, click Create Speaker.
Enter the speaker's first and last name. Optional fields include role, picture, work details, contact details, bio, and LinkedIn page.
Click Publish if you want speaker details to appear on the Event Page. (The speaker’s email and phone will not be displayed on the event registration page.)
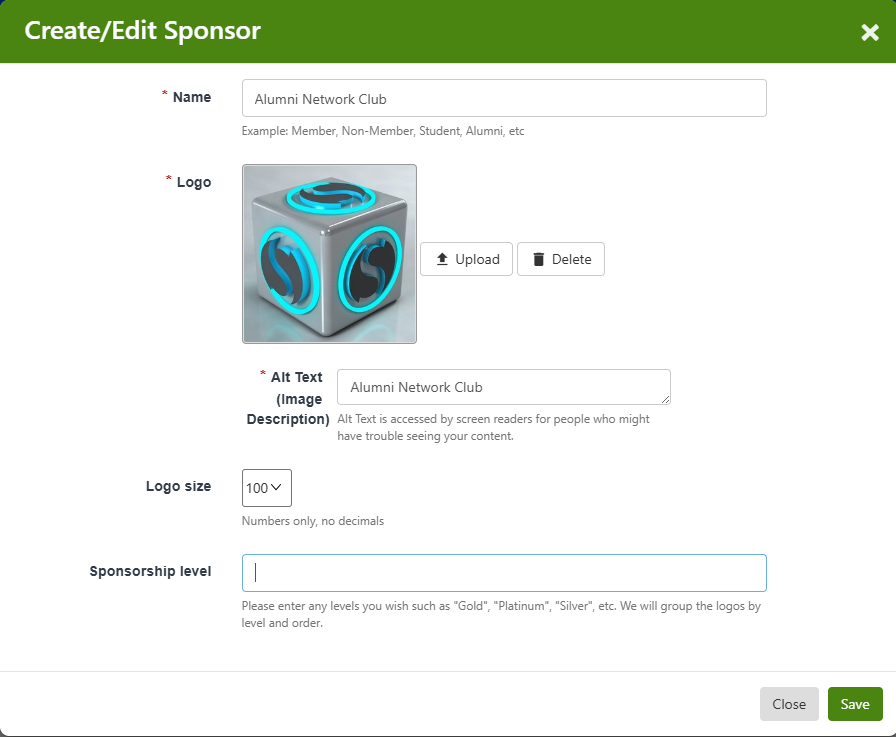
Sponsors
If your event has one or more sponsors, click Add Sponsor.

Each sponsor must have a name and logo. You can also add one or more sponsorship levels.
Redirect URL after Registration
If you want registrants to be taken to a website after registration, enter that URL here.

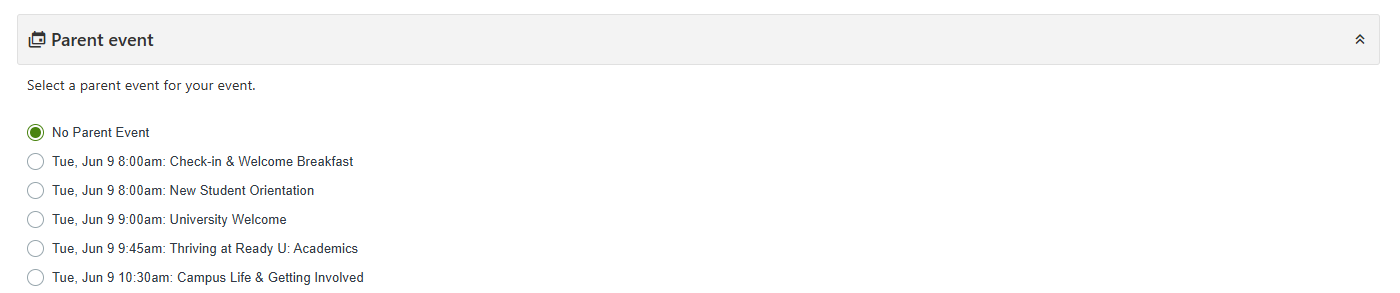
Parent Event
If this event is part of a larger, multi-event happening, choose the parent event Parent - Child Events here.
For example, the parent event could be New Student Orientation, which includes child events such as tours, lunches, department meetings, etc.
Automatically Register to Other Events
If you want registrants automatically added to other events, choose those events here. Note that registrants will be added regardless of event privacy. This option only works for events with one registration option, no payment required, and no set capacity or waiting list.

Cost Center Code
Your group’s account payment account is entered in the Payments tab of your Group Settings. If payments for this event will use a different account, enter that here.

Waiver
Some events required signed documentations, such as a waiver or non-disclosure agreement (NDA). Examples could include off-campus trips, medium- or high-risk events, or events requiring secrecy.
You can enter waiver text manually, or choose one of the waiver types created by a platform admin and edit as needed.
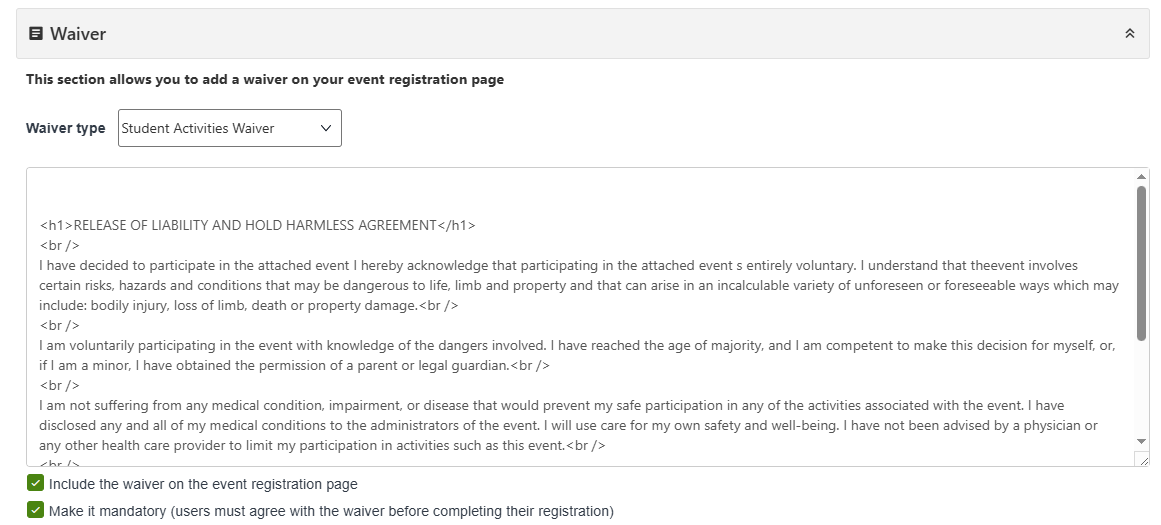
You can also choose whether to include the waiver on the event registration page Event Page, and whether the waiver is mandatory.
Note: Managing and downloading waivers can be done from the event Attendees list.
Co-host this Event
If this event is to be co-hosted by one or more other groups, choose those groups here and send them an optional message. The officers of these groups will be informed of your new event and can invite their own members.
These groups will also appear on your Event Page as co-hosts.
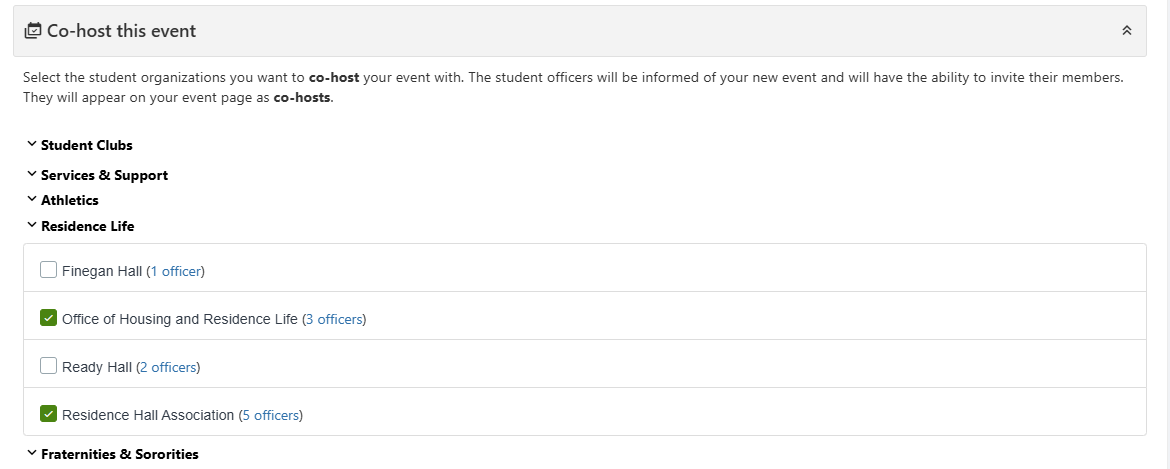
Note: Event details can only be edited by the original host group. Co-hosts cannot make edits.
Service Opportunities
If registrants can receive service hours Group Service Hours for attending this event, choose Yes.

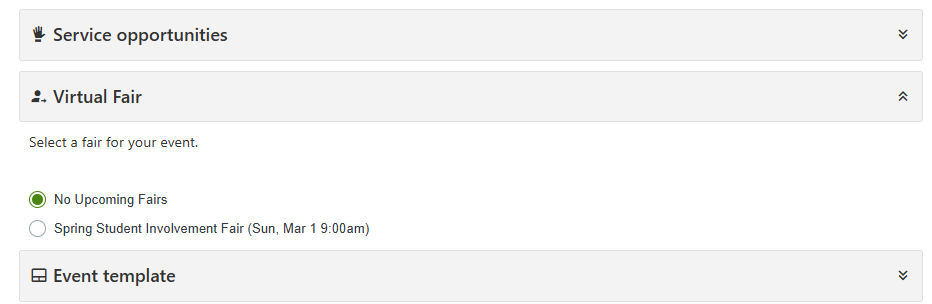
Virtual Fair
If there is a Virtual Fair linked to your event, select that here.
Event Template
If you want to save this event as an event template Event Templates, choose whether to save it just for your group, or for the entire platform (requires platform admin permission).

Note that if you save this event as a template, no actual event will be created. To create an event based on this template, you will have to create a new event Creating an Event from scratch, and choose this template.
Calendar Sync
By default, event registrants will see this event on their platform calendar. Choosing Yes will disable sync for this event.
