.png?width=500&height=91&name=CG-Logo-Blue%20(1).png)
A Meeting Scheduler lets you share your availability so other users can book time with you directly — useful for office hours, advising appointments, peer mentoring, or club leadership check-ins. You can connect an existing calendar and a video conferencing account so meetings are created and tracked automatically.
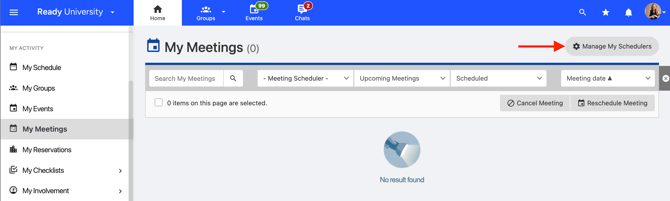
From the Home Page, open the My Activity dropdown, select My Meetings, and click Manage My Schedulers.
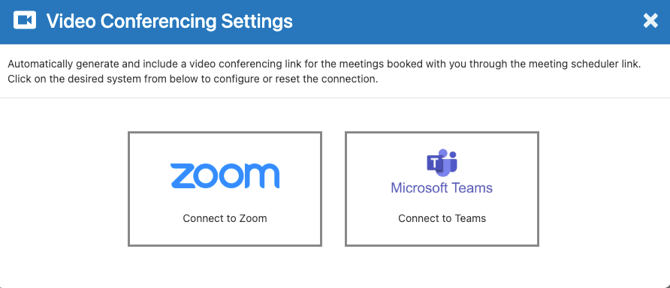
Before you create a scheduler, you can connect your accounts so your availability and meeting links are set up automatically — both are optional. Click Video Conferencing Settings to connect your Zoom or Microsoft Teams account.
To connect a calendar, click Connected Calendar Settings and add your Google Calendar or Office 365 calendar.
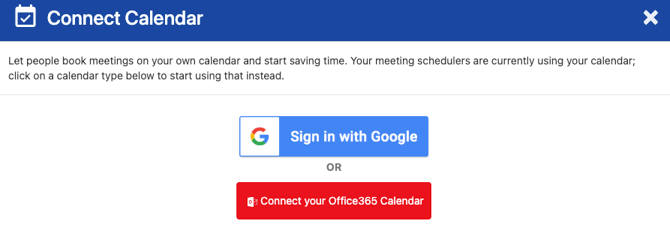
Note: The calendar and video conferencing accounts you connect here apply to both your individual Meeting Scheduler and to Connection Programs, so any meeting booked through either uses the same setup.
Note: How meeting invites are sent depends on your setup.
- If you connect a calendar (Google or Outlook), invites are sent from that service as a standard meeting invite.
- If you use the CampusGroups calendar instead, invites use the email notification template set by your platform admin.
When you're ready, click Create Scheduler.

Customize your scheduler — give it a name, set the meeting details, and choose how it appears to the people booking with you.
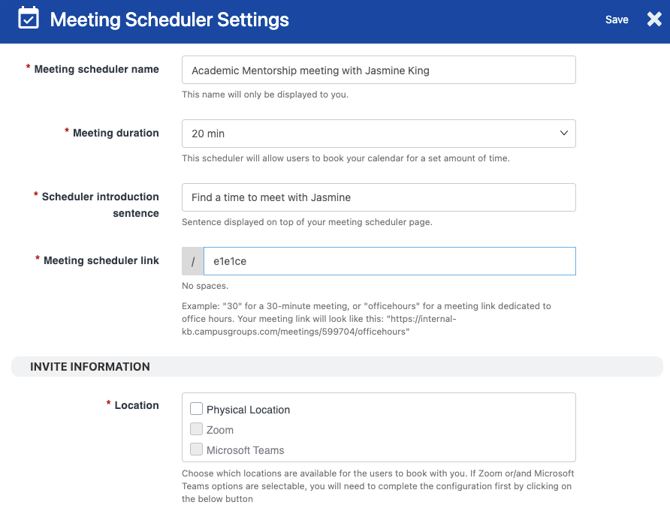
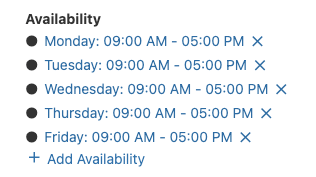
After your scheduler is created, you can fine-tune how it works. Set your availability by choosing the timeframe when the scheduler accepts bookings; if you connected a calendar, your existing events are factored in automatically, so you won't be double-booked.
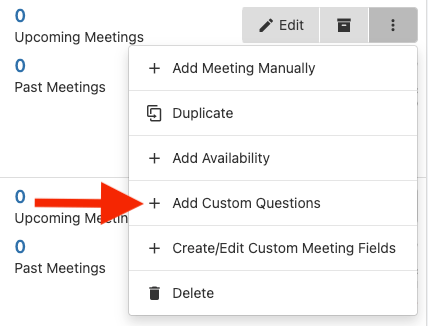
You can also add custom questions for people to answer when they book — for example, the reason for the meeting. Click the More icon and select Add Questions.