To manage your group inventory, start in the Inventory List. This list can be searched or filtered to find specific equipment.
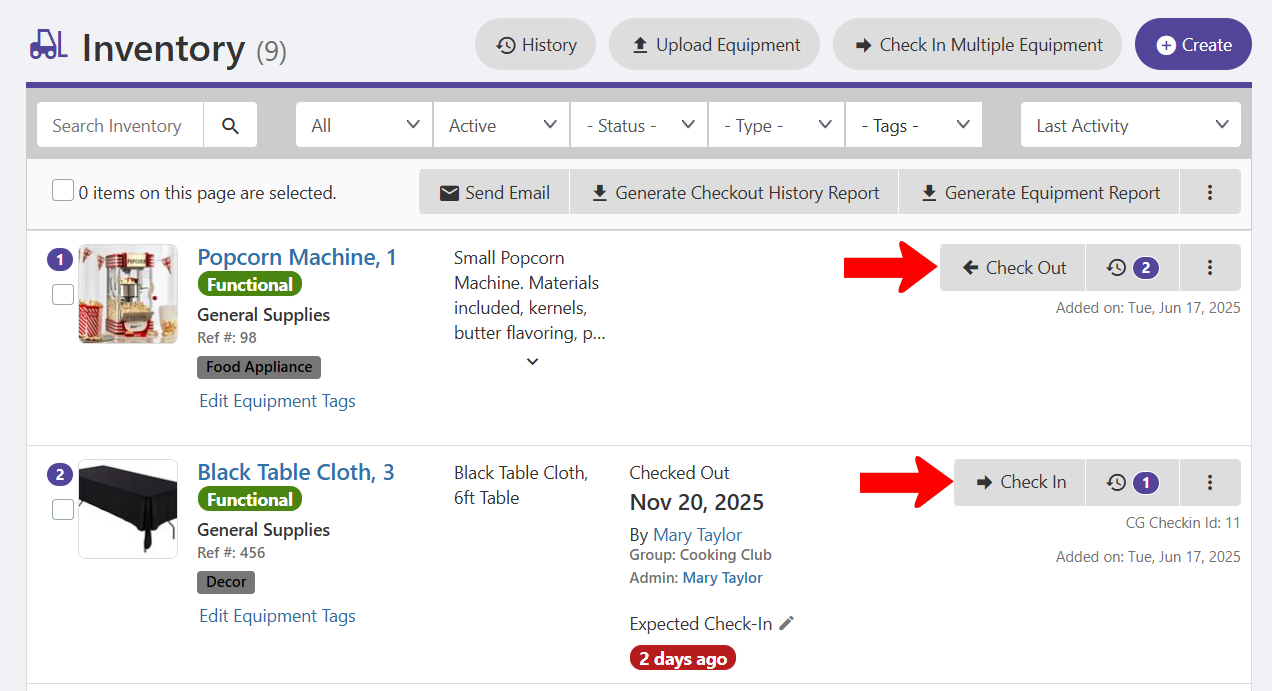
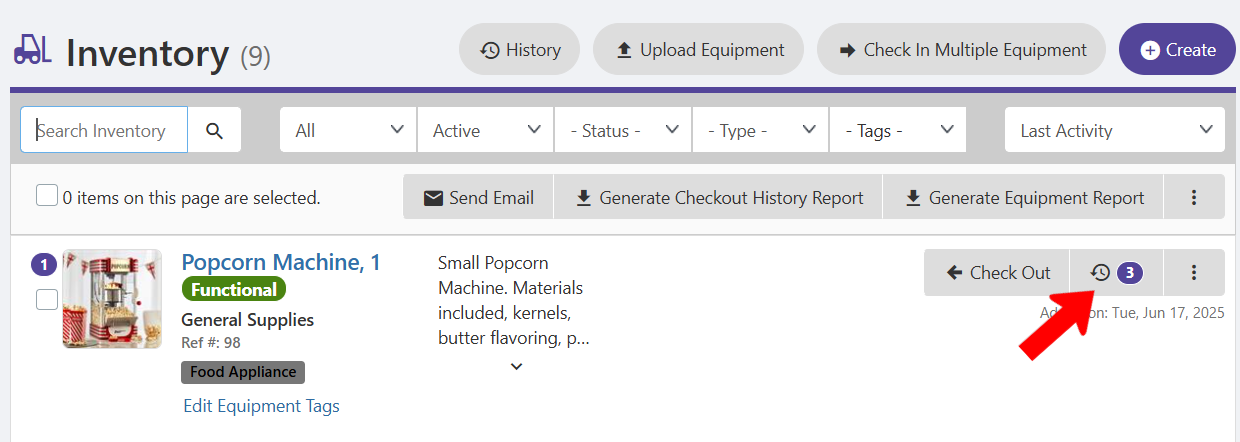
Items that are available have a Check Out button. Items currently checked out have a Check In button, along with information on who checked it out and when the item is (or was) expected to be returned.
Items can be checked-in and out in two ways:
Manual Check Out
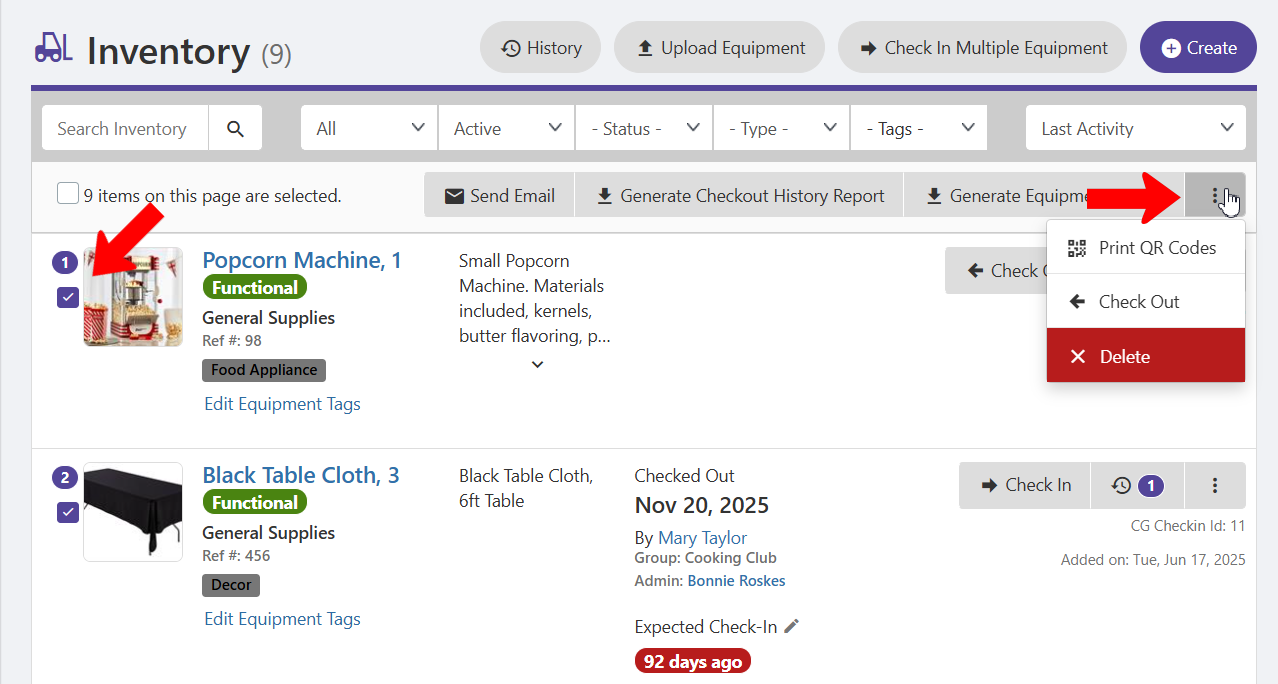
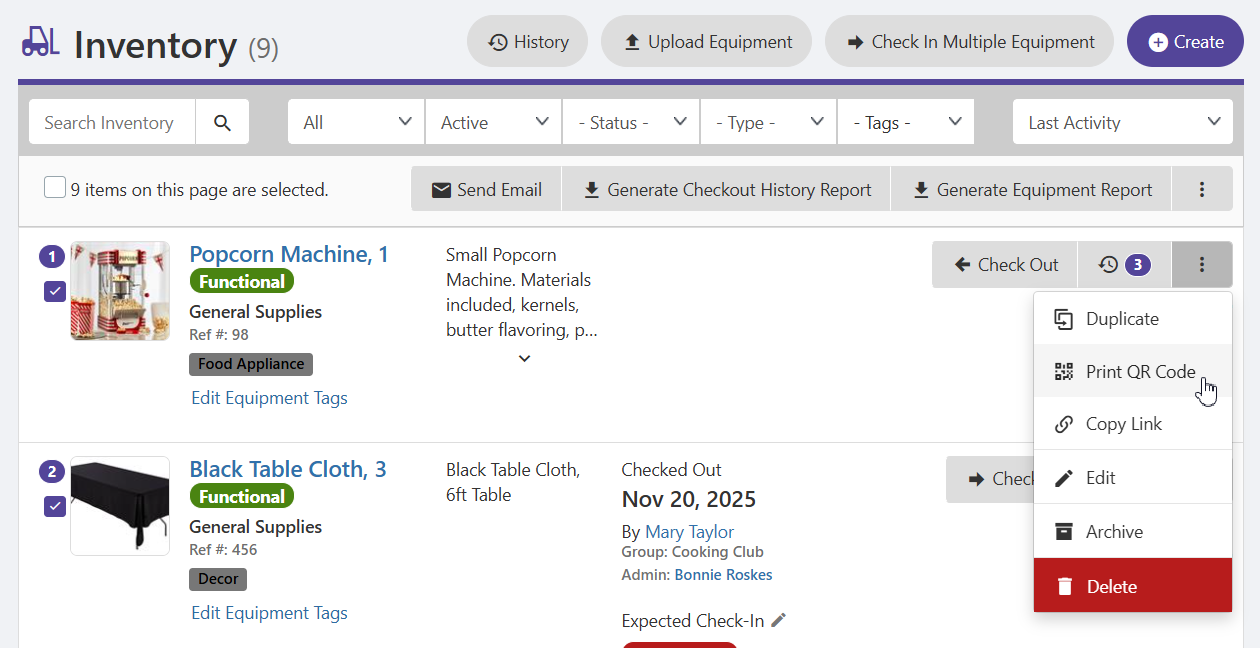
To check out a single item, click its Check Out button. To check out multiple items, select the items, click the More icon at the top and choose Check Out.
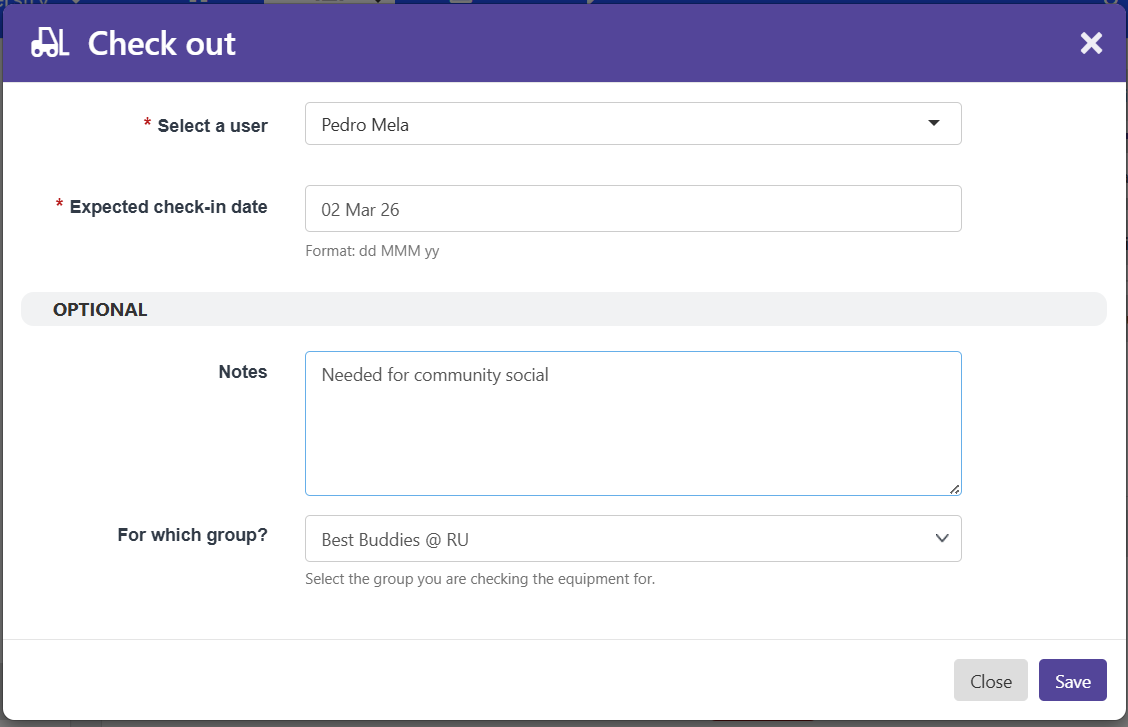
Specify the user taking the equipment, when it is expected back, and the borrowing group.
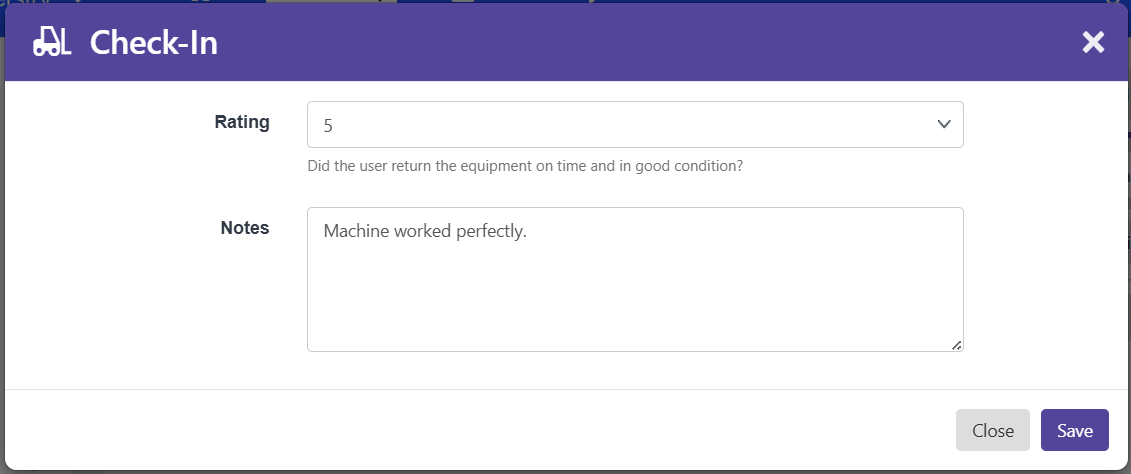
When the item is returned, click Check In, assign a rating, and add an optional note.
Note: If an item was damaged while it was checked out, be sure to edit it and change its status to Broken.
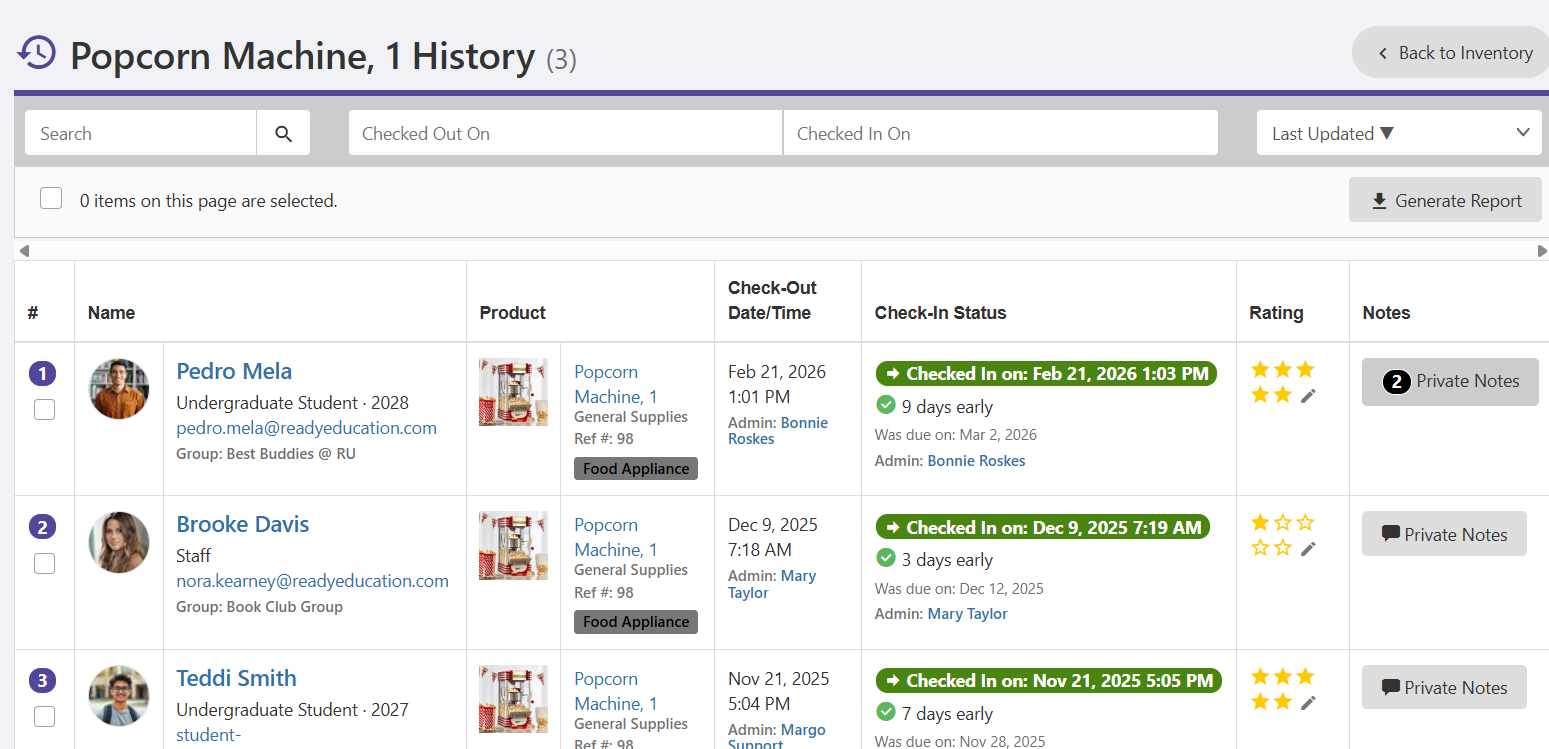
To view check-out history, click an item’s history number or name.
Each check-out is listed over time.
QR Check Out
Another way to manage check-in and check-out is via QR code. Each item’s QR code can be generated by clicking its More icon and choosing Print QR Code.
Users can scan the code, and the mobile app will have instructions on check-out and check-in.